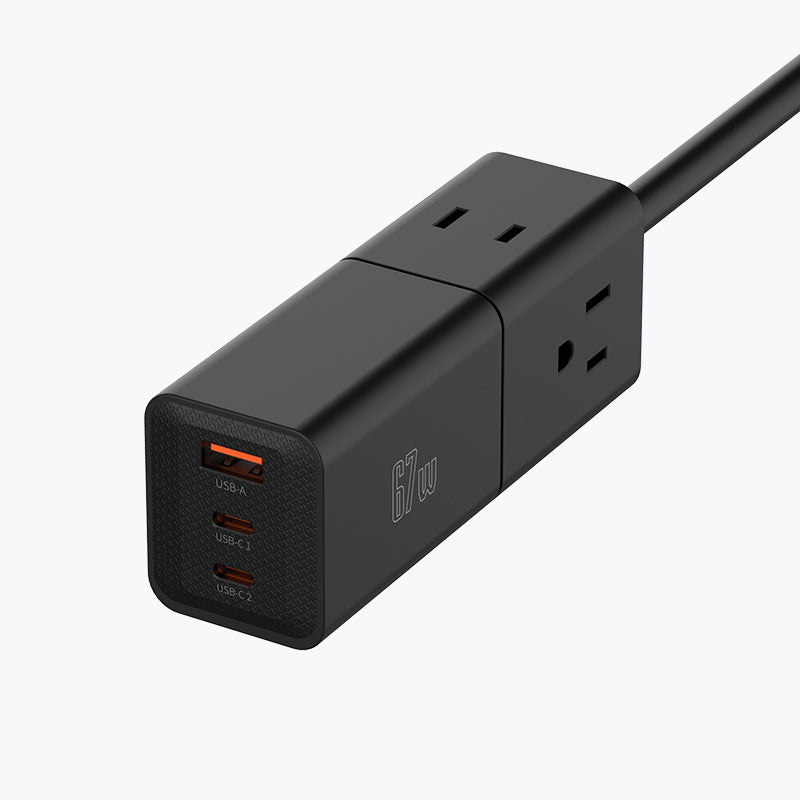
Desktop power strips are essential tools for managing multiple electronic devices in homes and offices. The production process for these power strips is designed to ensure that they meet high standards of safety, reliability, and efficiency. This blog post will guide you through the detailed steps involved in manufacturing desktop power strips, highlighting the technologies and quality control measures that ensure these products are both functional and safe.
1. Design and Prototyping
The production process begins with a detailed design and prototyping phase:
- Initial Design: Engineers and designers collaborate to create a blueprint for the power strip. This includes determining the number of outlets, USB ports, surge protection features, and overall dimensions. The design must balance functionality with aesthetics while adhering to safety standards.
- Prototyping: After the design is finalized, a prototype is created. This prototype undergoes initial testing to ensure that it meets design specifications and regulatory requirements, such as electrical safety standards.
2. Material Sourcing
Once the design is approved, the next step is to source the necessary materials:
- Housing Materials: Durable and fire-resistant materials like ABS plastic or polycarbonate are typically chosen for the outer casing to protect the internal components and ensure the power strip's longevity.
- Internal Components: These include copper wiring for conductivity, circuit breakers for safety, and electronic components like resistors, capacitors, and varistors for surge protection.
3. PCB Manufacturing and Assembly
The heart of any desktop power strip is its printed circuit board (PCB), which controls the flow of electricity and protects connected devices:
- PCB Design: The PCB is designed to manage the distribution of power to each outlet, control surge protection mechanisms, and sometimes provide additional features like USB charging.
- SMT (Surface Mount Technology): Electronic components are mounted onto the PCB using SMT. This process is automated and ensures that all components are precisely placed and soldered for optimal performance.
- Testing: After assembly, the PCB undergoes electrical testing to ensure it can handle the required load and that all safety features function correctly.
4. Assembly of Internal Components
With the PCB ready, the next step is to assemble the internal components of the power strip:
- Wiring and Connections: Copper wiring is connected to the outlets, switches, and PCB. Each connection is carefully soldered and insulated to prevent short circuits and ensure efficient power flow.
- Surge Protection Integration: If the power strip includes surge protection, components like metal oxide varistors (MOVs) and fuses are integrated into the assembly. These components protect connected devices from power surges and spikes.
5. Casing Assembly
The internal components are then encased in the protective housing:
- Casing Assembly: The internal assembly is placed inside the outer casing, and the two halves are securely fastened together. The casing is designed to be both durable and ergonomic, making the power strip easy to use while providing robust protection against external damage.
- Laser Engraving: If necessary, branding, safety certifications, and usage instructions are engraved onto the casing using a laser engraving machine. This ensures that the information remains clear and legible even after prolonged use.
6. Quality Control and Testing
Before the power strips are packaged, they undergo several quality control tests:
- Electrical Safety Testing: Each power strip is subjected to rigorous electrical testing to ensure that it operates safely under load and that all safety features, such as surge protection and circuit breakers, function as intended.
- Durability Testing: The power strips are tested for durability by exposing them to conditions such as repeated plugging and unplugging, high temperatures, and mechanical stress.
- Finished Product Aging: In this step, power strips are placed in aging cabinets where they are tested under continuous use conditions. This process helps identify any potential long-term reliability issues.
7. Packaging and Distribution
The final stage of production is packaging and preparing the power strips for distribution:
- Packaging: The power strips are carefully packed in protective packaging that includes user manuals and safety warnings. The packaging is designed to protect the product during transit and provide consumers with essential information.
- Shipping: Once packaged, the power strips are distributed to retailers or directly to consumers, depending on the sales channels used.
8. Post-Production Support
Even after production, ongoing support is crucial:
- Warranty and Customer Support: Manufacturers often offer warranties and customer support services to handle any issues that may arise after purchase. This includes addressing defects, providing replacements, or offering guidance on safe usage.
Conclusion
The production process of desktop power strips is a carefully coordinated effort that involves multiple stages, each focused on ensuring the final product is safe, reliable, and efficient. From the initial design and material sourcing to the final testing and packaging, every step is crucial in delivering a product that meets both regulatory standards and consumer expectations.
By understanding the complexities of this production process, consumers can make more informed decisions when selecting power strips for their needs, ensuring they choose products that are built to last and protect their valuable electronic devices.
If you have any questions about the manufacturing process of desktop power strips or would like to know more about specific stages, feel free to ask in the comments below!


